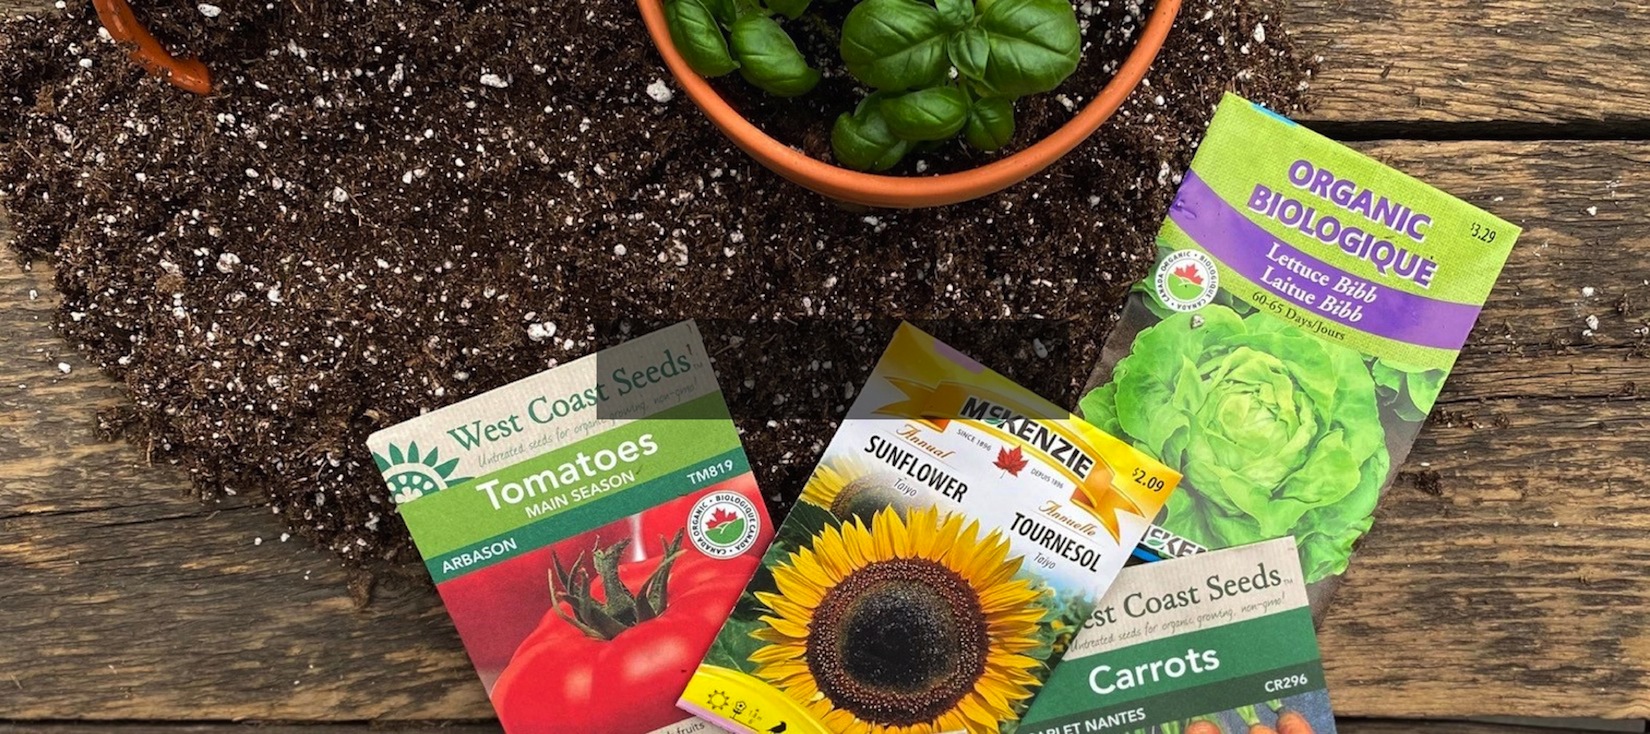

Starting Seeds Indoors

When to Start
Most plants should be seeded approximately 6-8 weeks before planting out. In our area most annual seeds will be started from April 1st to April 15th, so plants are ready to place outside May long weekend. There are exceptions; Petunias, Seed Geraniums, Begonias (an extra couple weeks earlier produces bigger plants). Perennial seed is best started 10-12 weeks prior to planting out. For a specific timing schedule for starting seeds indoors check out the Almanac Planting Calendar
How to Start
Step One
Seeds can be started in many containers, however for most young seedlings cell packs are ideal. The cells are the optimal size for many plants to grow in until planting outdoors (crops requiring longer grow times such as 8-12 weeks may require a transplant). These cell trays can be filled with seedling mix such as PROMIX Seed Starter and placed into a seed tray to collect any moisture runoff when watering.
Jiffy Seed Pellets are also a great choice. These peat pellets are simply soaked in water, after which they swell up into a miniature pot that the seed can be placed in. The roots grow into the peat medium just as they would in soil.
Though pellets are great for lessening ’transplant shock’ on seedlings, roots may outgrow the pellets, requiring a transplant into a larger pot (4”) with soil.
Step Two
If using cell trays, fill them with moistened soil. Place a seed in each cell (or in the top of each peat pellet). If you get too many in one cell, don’t worry, you can thin it out later. Sprinkle a thin layer of soil over the seeds. If planting in pellets, simply press seed into the top center of the pellet pot.
Step Three
Step Four
Place a clear dome over the tray to keep humidity in. It’s beneficial to place the seed tray over a seedling heat mat (these can be purchased at Greenland) to help promote germination. Germination times will vary with different plants, but on average you should see signs of growth within 7-10 days.
Step Five
Step Six
Once the seeds have germinated you can remove the humidity dome. Continue to check daily for water, and use a watering can with a fine nozzle or mister bottle.
Step Seven
Step Eight
New to Starting Seeds indoors?
No problem – our knowledgeable staff are on hand to help with lots of tips to get you started watch our Indoor Seeding – Starting for Spring Success video.