
Common Seeding Mistakes

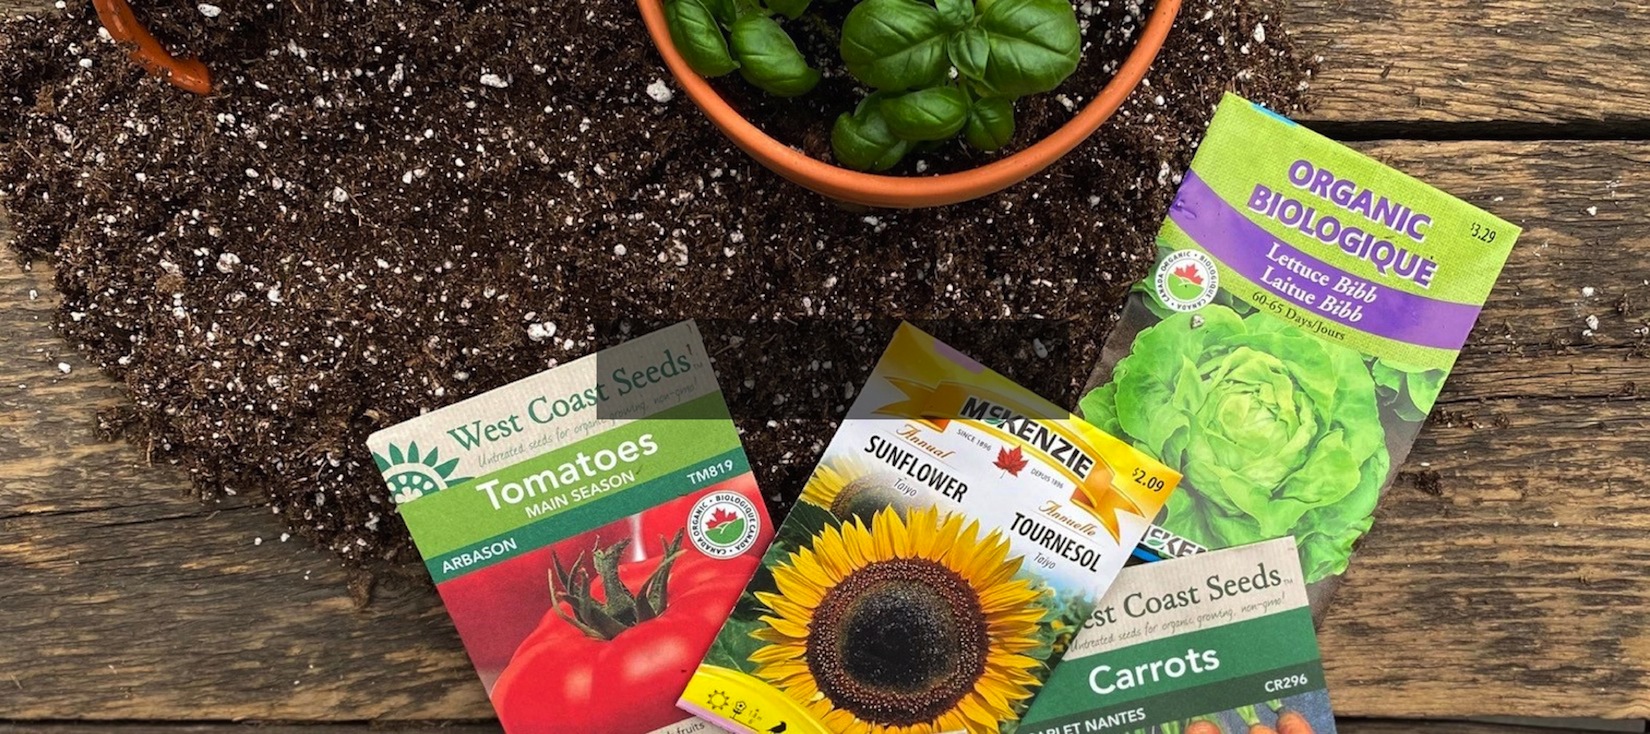
Seeding indoors not only saves you money but is an easy way to enjoy gardening during the long winter months. Though seeds are easy to grow, some first-time ‘seeders’ may experience less than perfect results. So, before you get growing indoors, here are some mistakes to avoid:
Using Improper Soil
For seeding success, always use a soil mix developed for seeding such as PRO Mix Seed Starter mix. This organic blend retains moisture yet drains well and contains plant food for increased root development.
Timing
Starting seeds too early can lead to weak, overgrown plants. Check your seed package to determine the number of weeks to start your seed prior to ‘planting out’. In our area, seedlings are typically planted outside on or after the Victoria Day weekend.
Seeding Too Deep
Though most seed packages list the required planting depth, a good rule of thumb is to plant the seed 2 to 3 times as deep as the seed is tall. So, if the seed is 1/4″ tall, plant it 1/2 to 3/4″ deep. If the seed is very tiny, then plant the seed on the surface of the seeding mix. When doing so, ensure the mix is pre-moistened to avoid washing seed away when watering. Tiny seeds such as Tomato, Pepper, Cabbage etc. need only be planted 1/4″ deep. Larger seeds such as Squash and Castor Bean can be planted 3/4″ to 1″ deep.
Insufficient Lighting
Light is often overlooked by first-time seeders. When seeds first germinate, they need the maximum amount of light possible until they develop more leaves. Though your living room may be extremely bright, the light is quite insufficient for developing seedlings, and at too great of a distance away from the plants. Fluorescent lights or grow lights need to be placed 1-3″ away from the top of the plants. Remember to keep adjusting the light source to keep it this same distance from the plants as they grow taller.
Our portable light stands can be placed anywhere (even the basement) and provide all the light your seedlings need. The light fixture is adjustable, so you can set the light at the appropriate height above the plants. Two sizes available 2’ fits up to 2 flats and 4’ fits up to 4 flats.
Watering Seedlings
When you first plant your seeds, you should cover your flat or container with plastic to help keep the humidity high and the soil moist. If you used pre-moistened media and misted or watered after planting, you should not have to water your seedlings until you see growth emerging. When you do have emerged seedlings in your flat or container, it is important to keep the top evenly moist. Unlike fully grown plants, the seedlings roots are not developed enough to find water deep in the soil, therefore you must not let the top become overly dry. When at least half of your tray or container of seedlings have emerged, you want to remove the plastic cover to avoid fungal disease.
Lack of Fertilizer
The soil we use has little to no fertilizer in it. Therefore, once your seeds emerge and have grown a few sets of leaves, you should begin fertilizing. Any fertilizer you have available to you will work, however your best choice would be a fertilizer with a high middle number (such as 10-52-10 or 15-30-15). When you do fertilize your seedlings, you want to fertilize at half or even a quarter of the strength listed on the side of the container. This ensures you will not damage the new delicate roots. Never fertilize on dry soil and fertilize your seedlings every two weeks.
New to Starting Seeds Indoors?
No problem – our knowledgeable staff are on hand to help with lots of tips to get you started watch our Indoor Seeding – Starting for Spring Success video: